Computer Aided Design
Introduction to Computer Aided Design
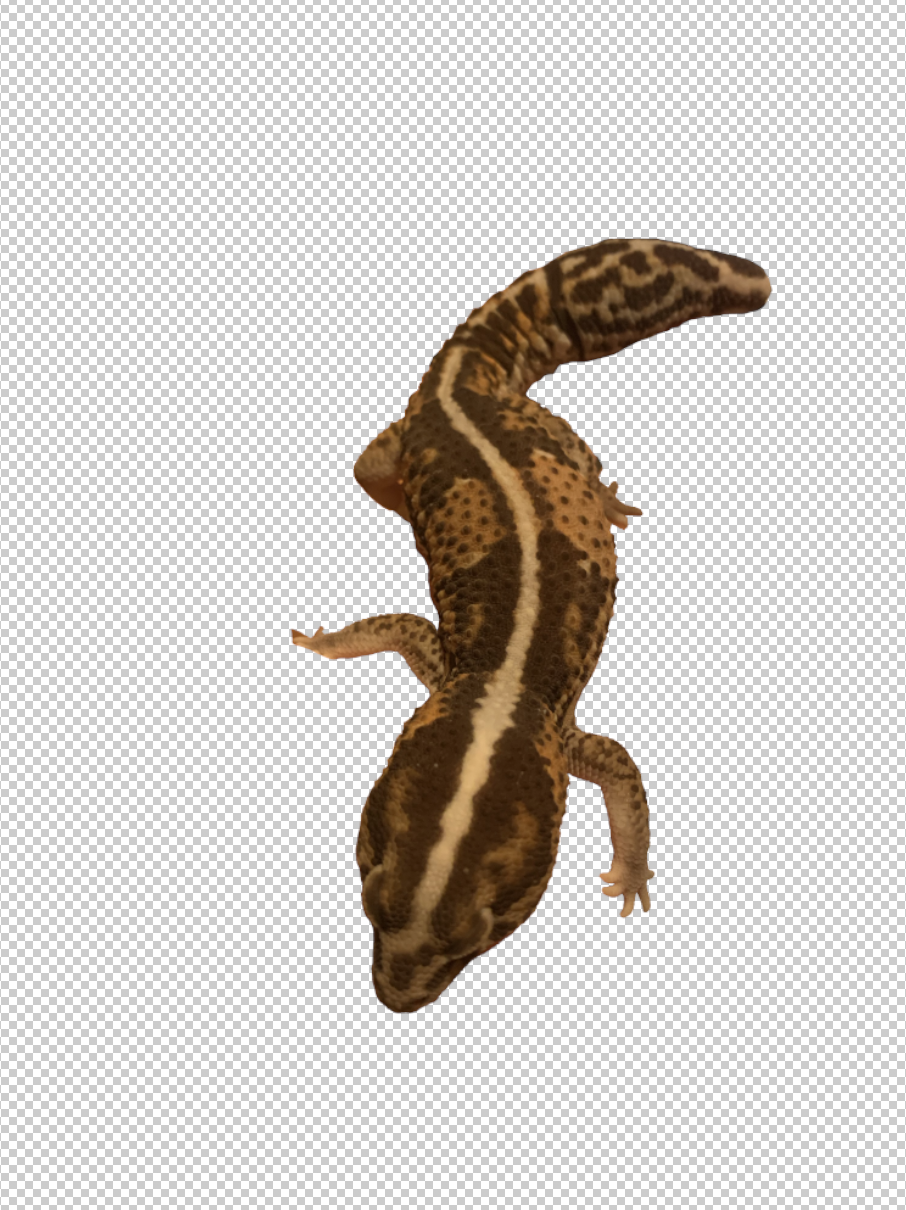
As I am well versed in Adobe Photoshop, I used PS to remove the background of a photo instead of GIMP.
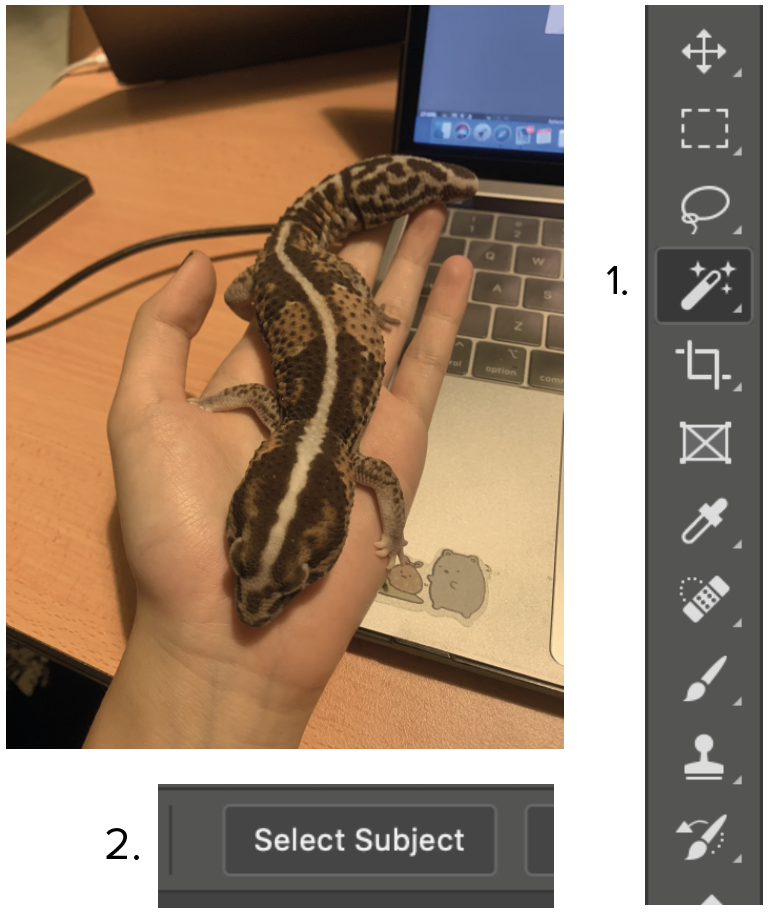 |
How-to:
|
 |
 |
Creating Models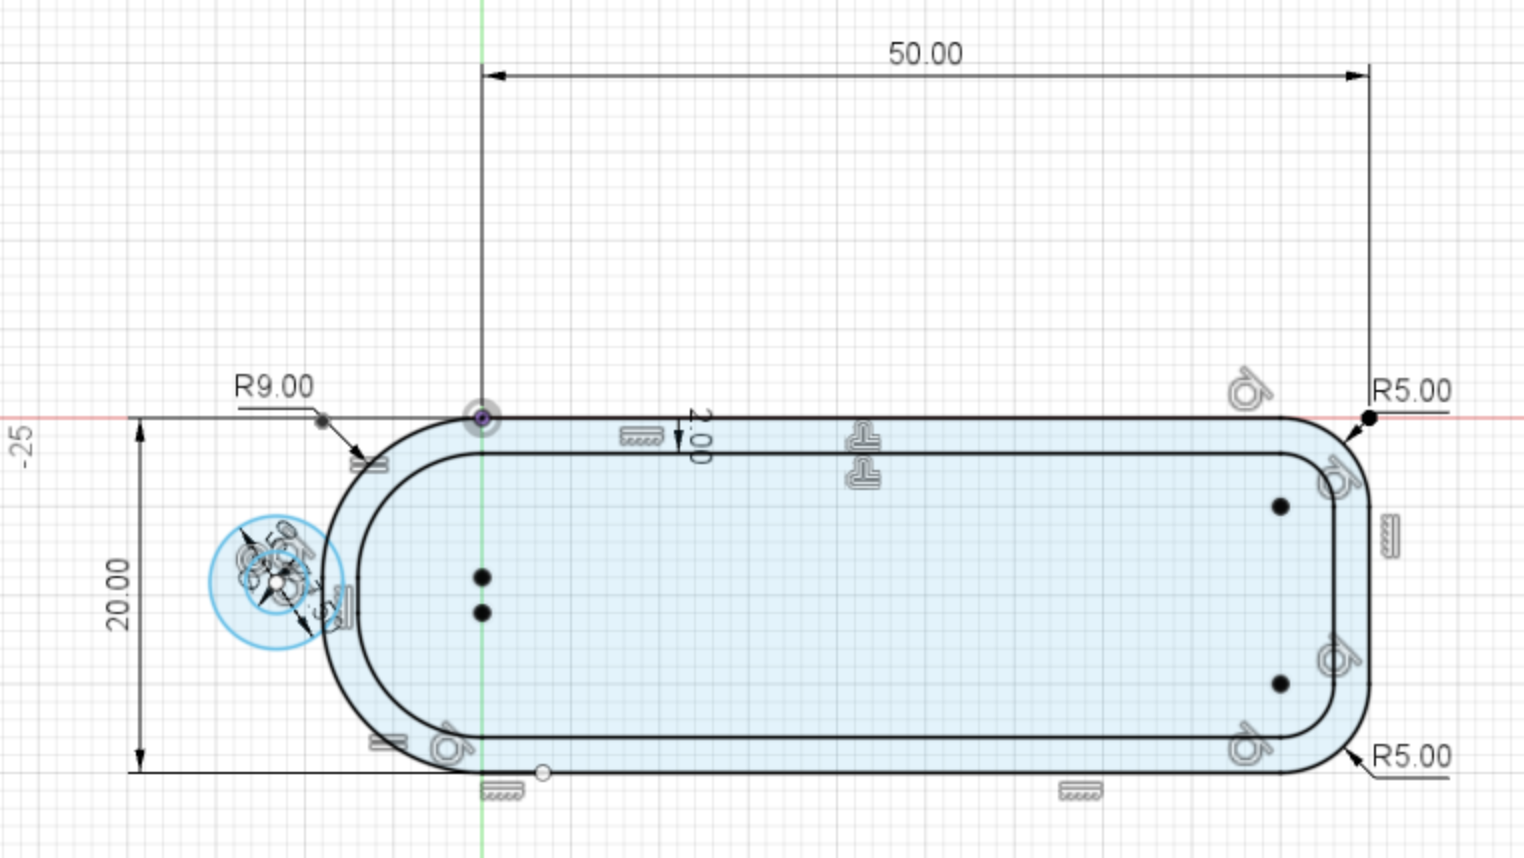
|
How-to:
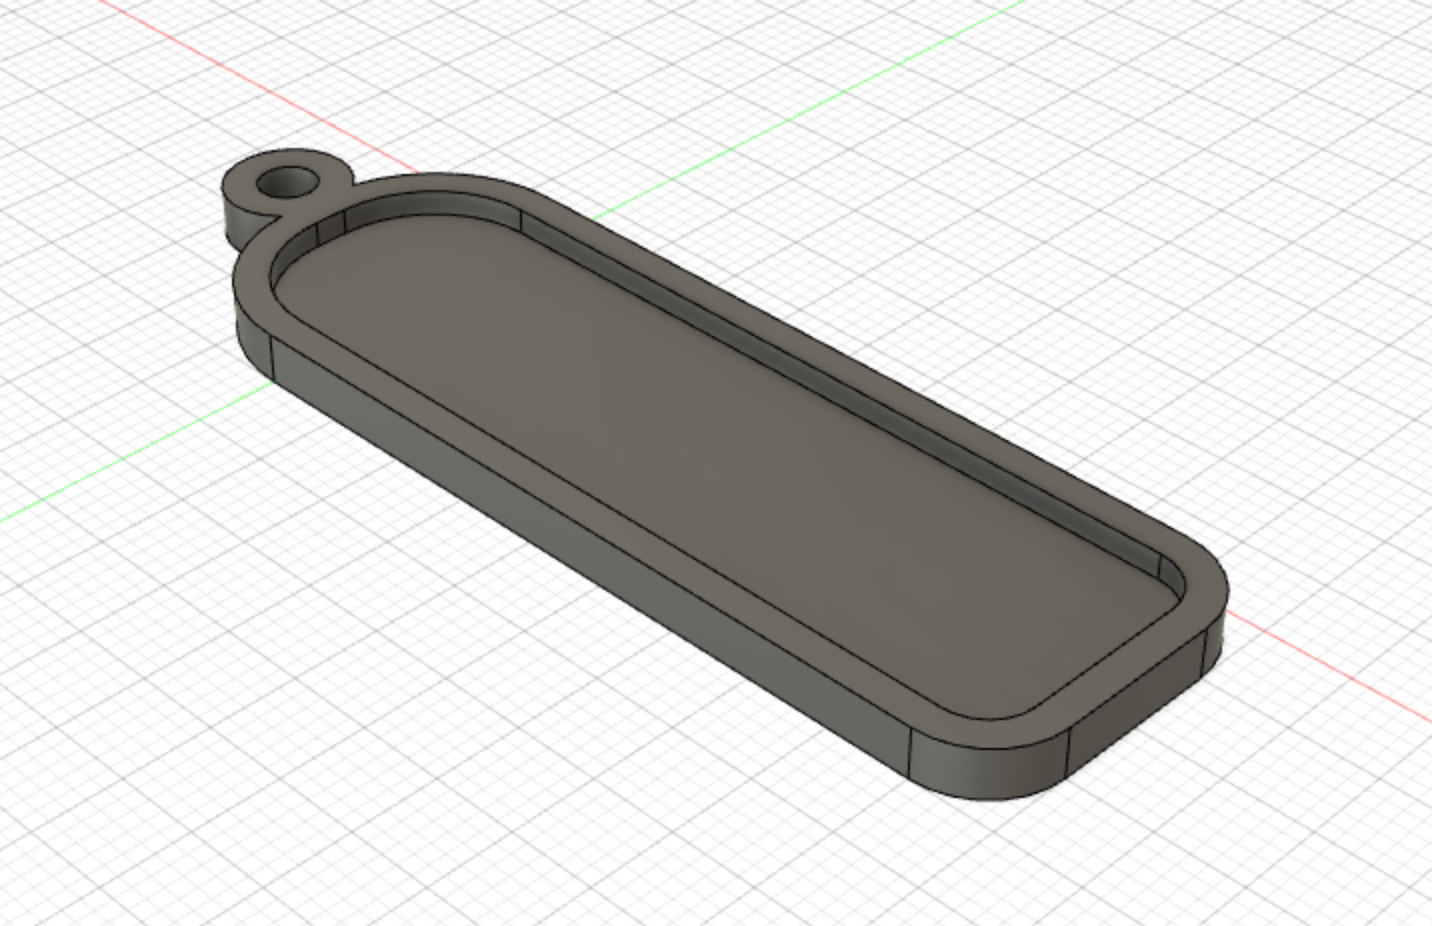
- I started by sketching the nametag, careful not to place the circle that would be the ring too far at the end in case it ends up breaking.
- After I have finished sketching, I extruded the outer ring to a thickness of 3mm and the base to a thickness of 1.5mm.
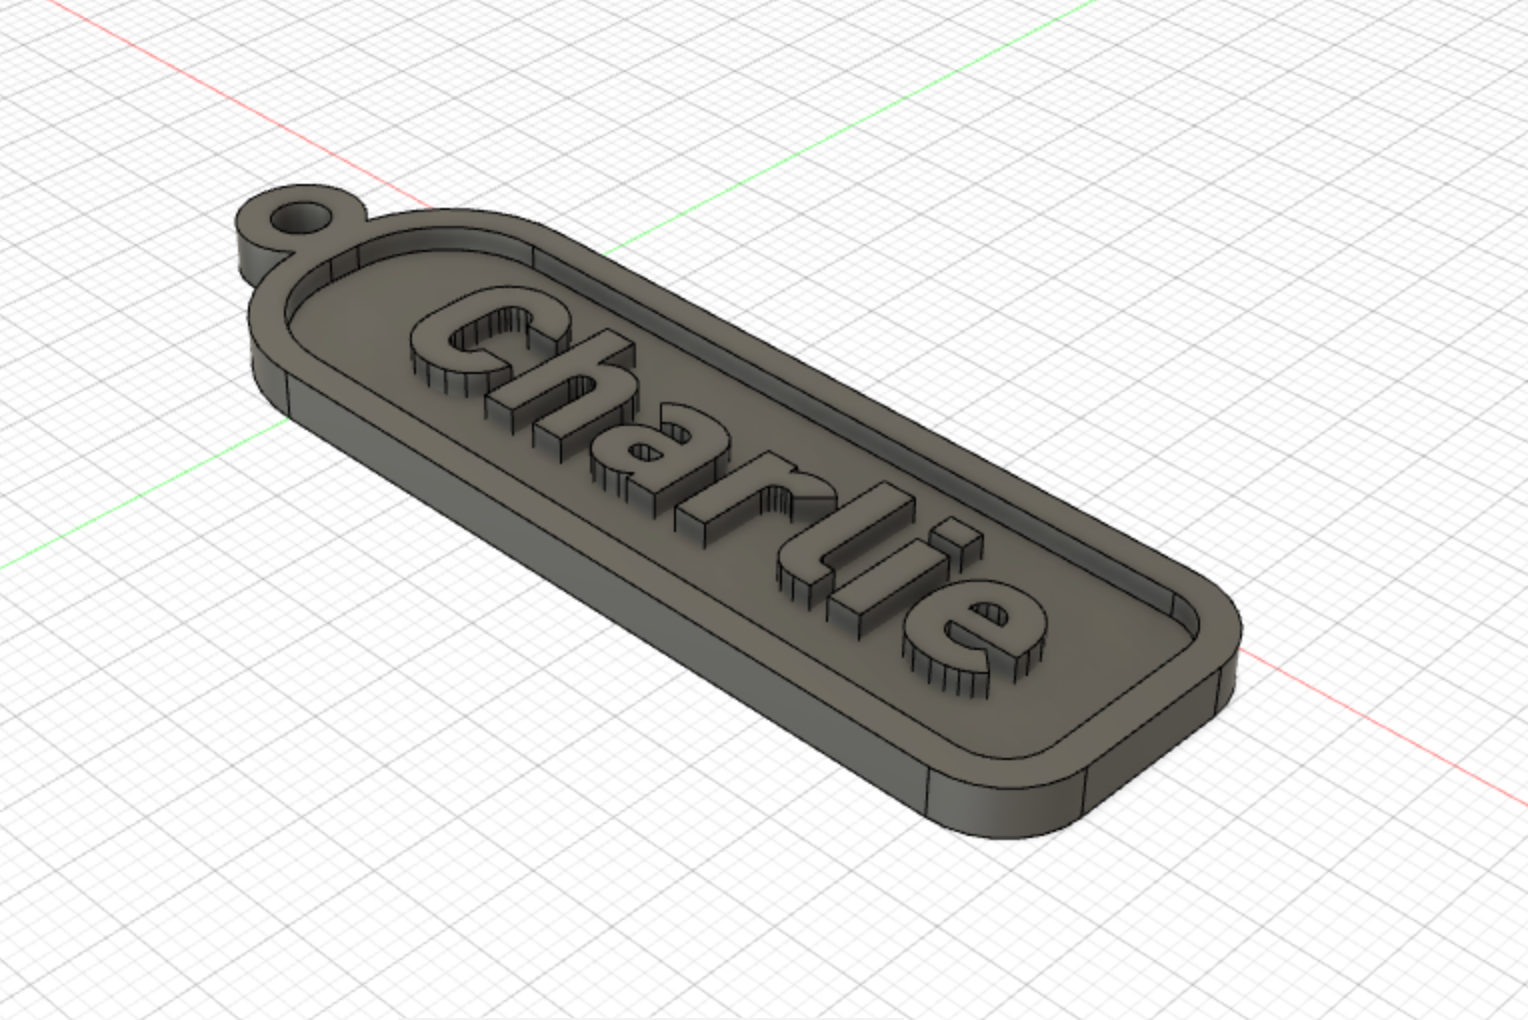
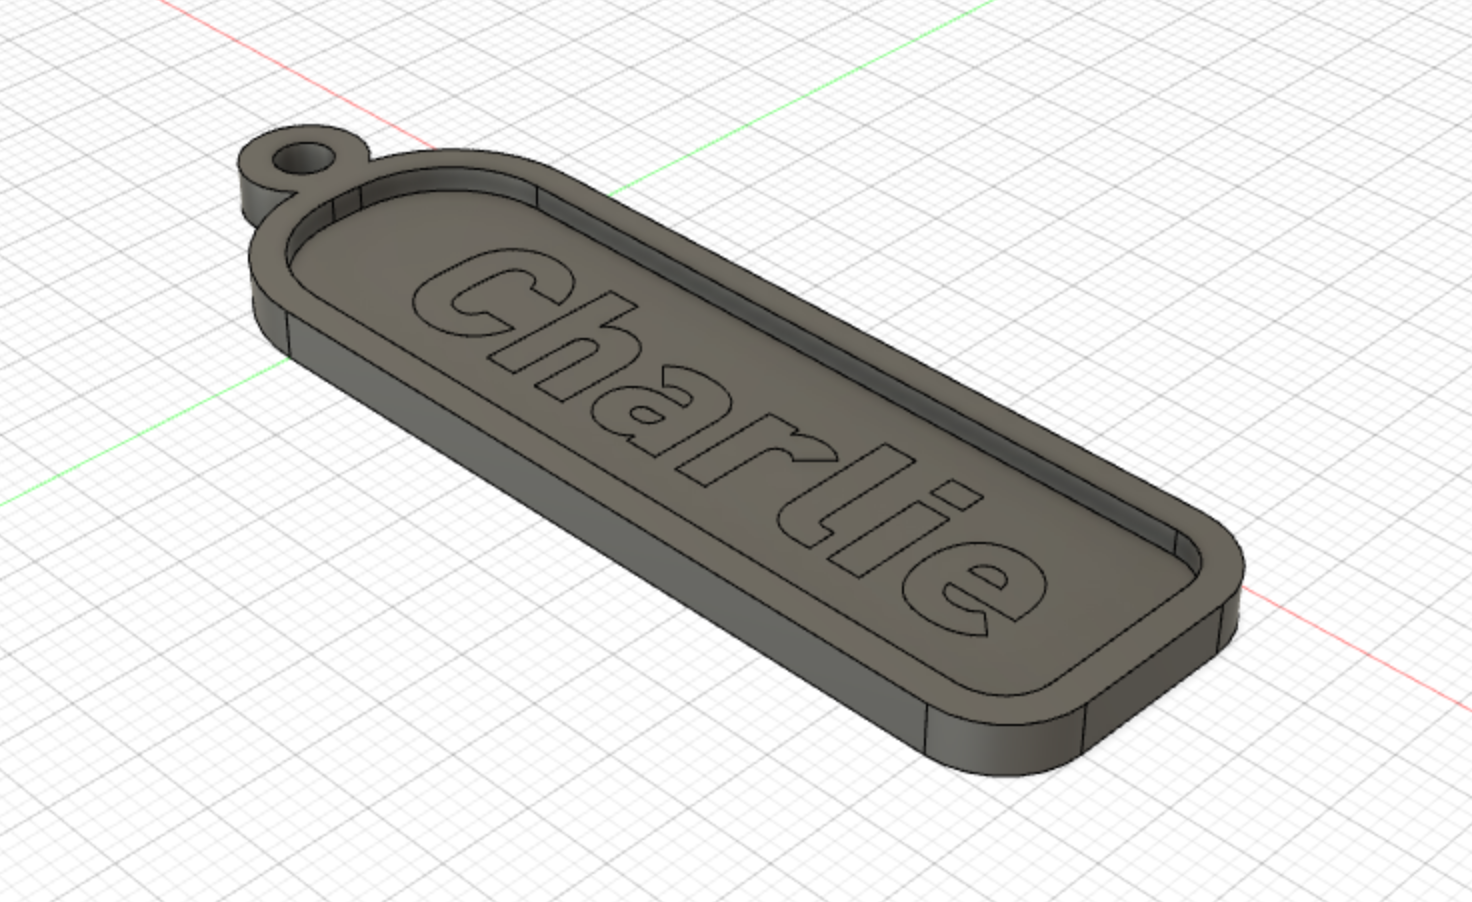
- I then used the font “Arial” and wrote down my nickname before extruding it to a thickness of 1.5mm.
- Despite the name tag going smoothly, one thing I could do to “improve” would be to use the trimming tool to trim off the excess lines that overlapped on the sketch just to make it more seamless.
|
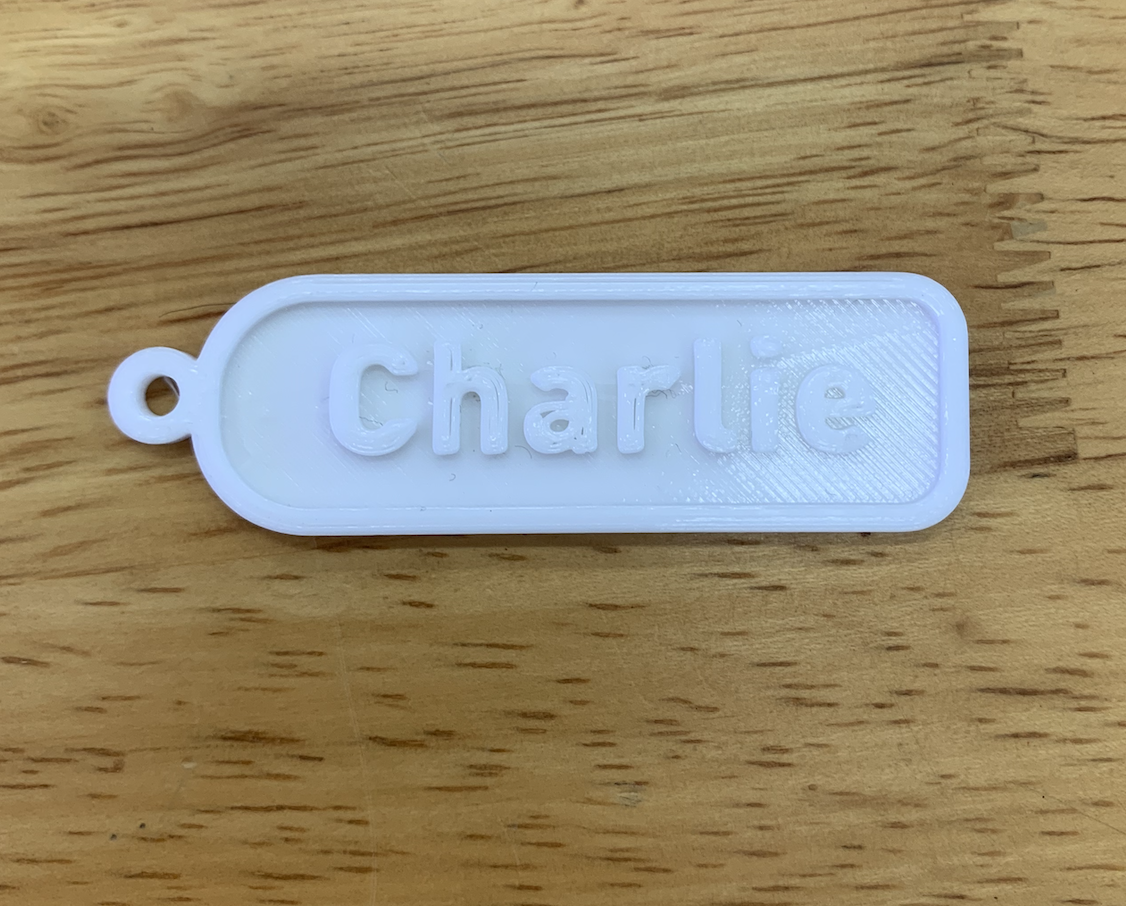
I later sliced my name tag on Cura and proceeded to print my name tag in the 3D printer. 
|
|
Thing to take note of:
|
Further Fusion 360 design techniques
 |
I followed the tutorial by Taylor Stein and it went rather smooth as I did not run into any major problems. |
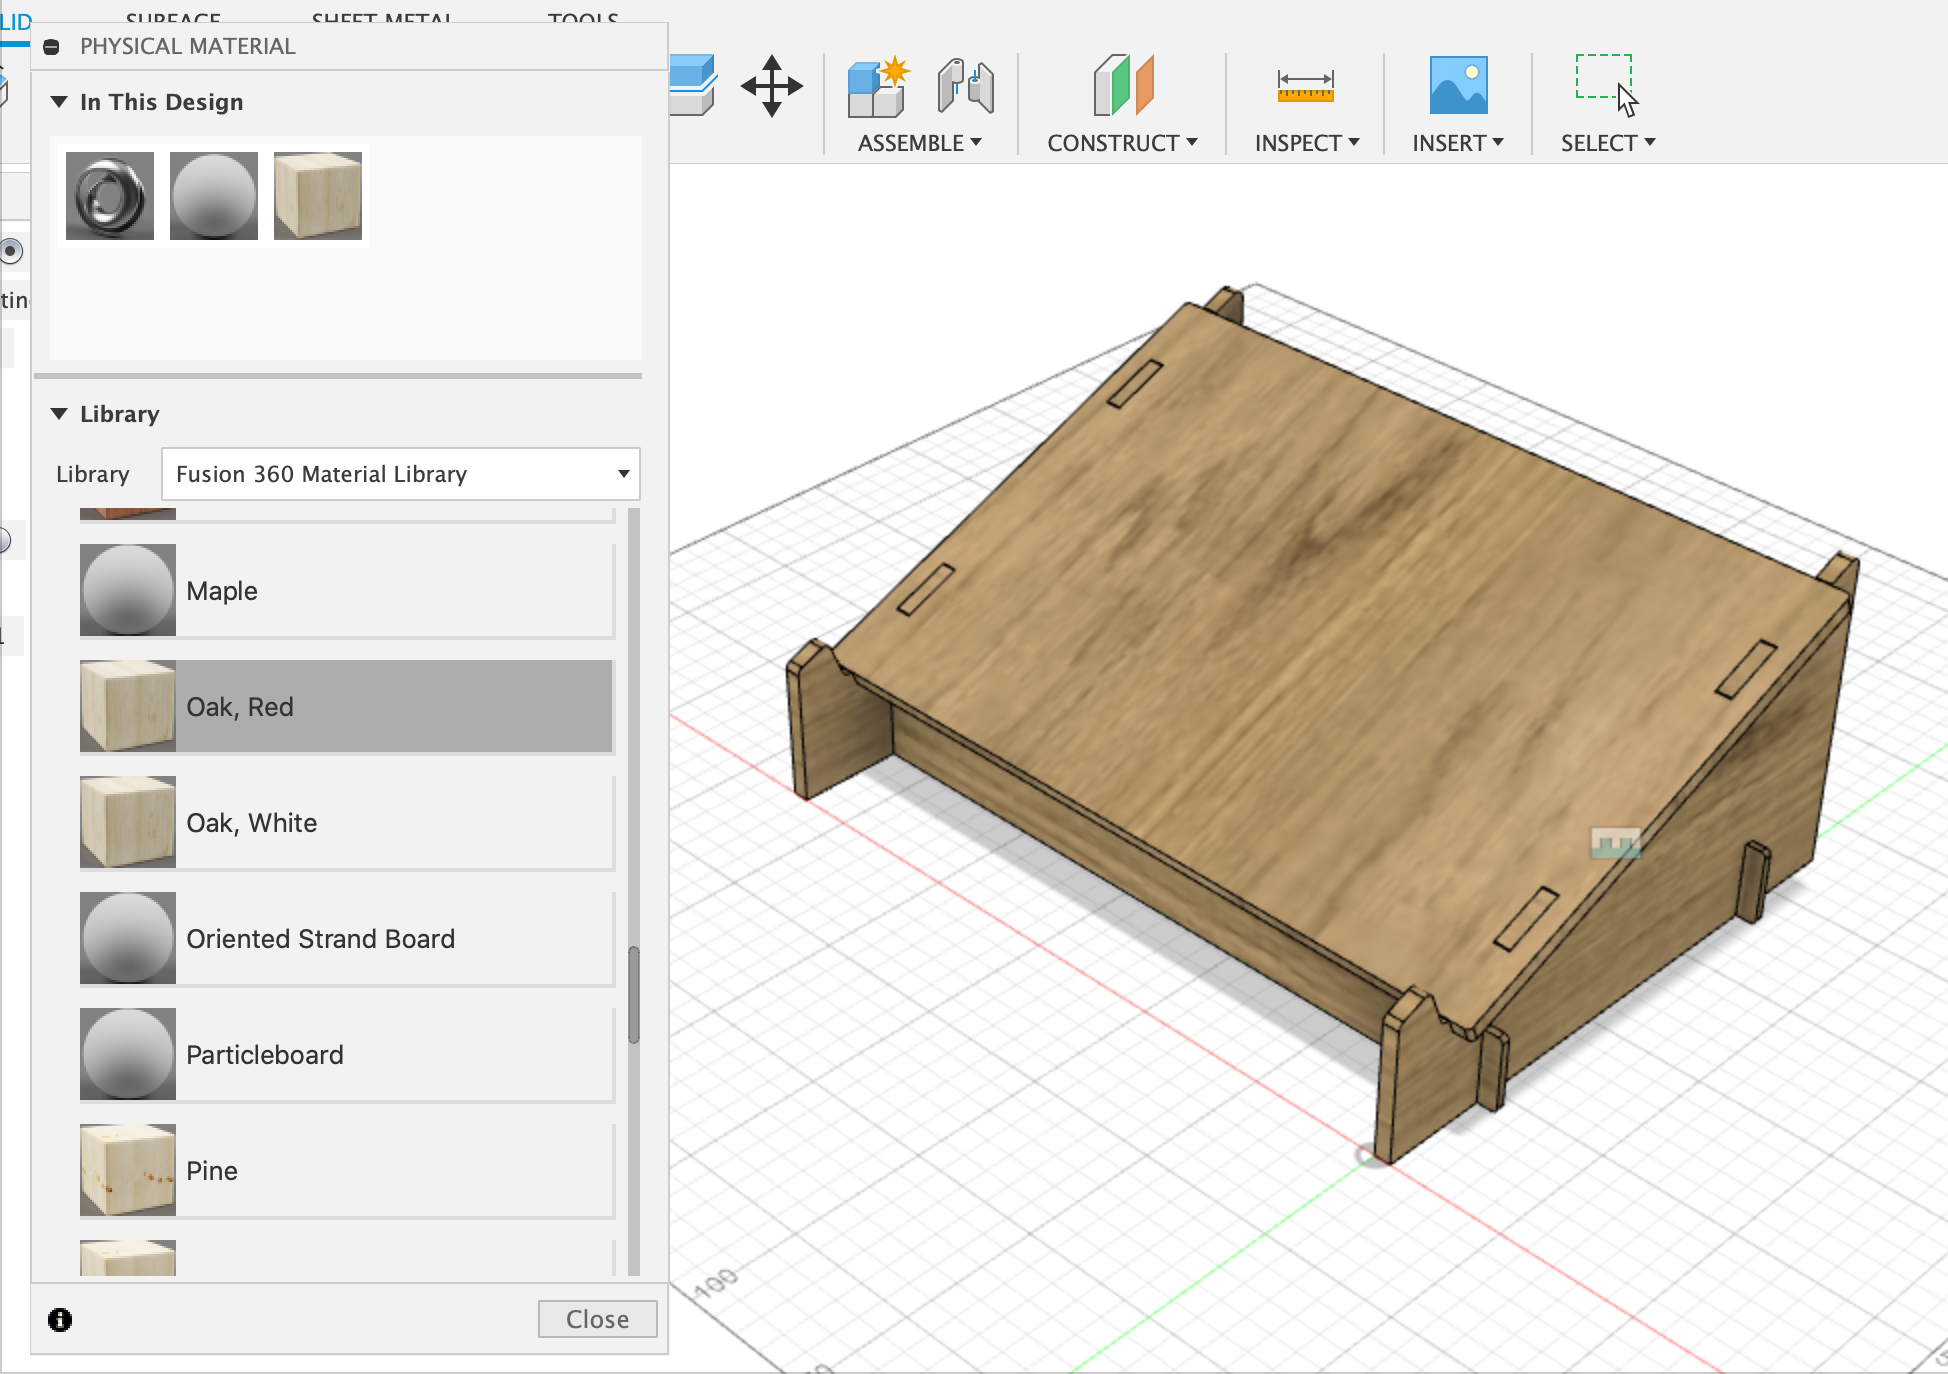 |
I learnt today how to change the material of the wood under Modify> Physical Material. To apply, drag the chosen material to your object instead of just clicking it. |
 |
 |
|
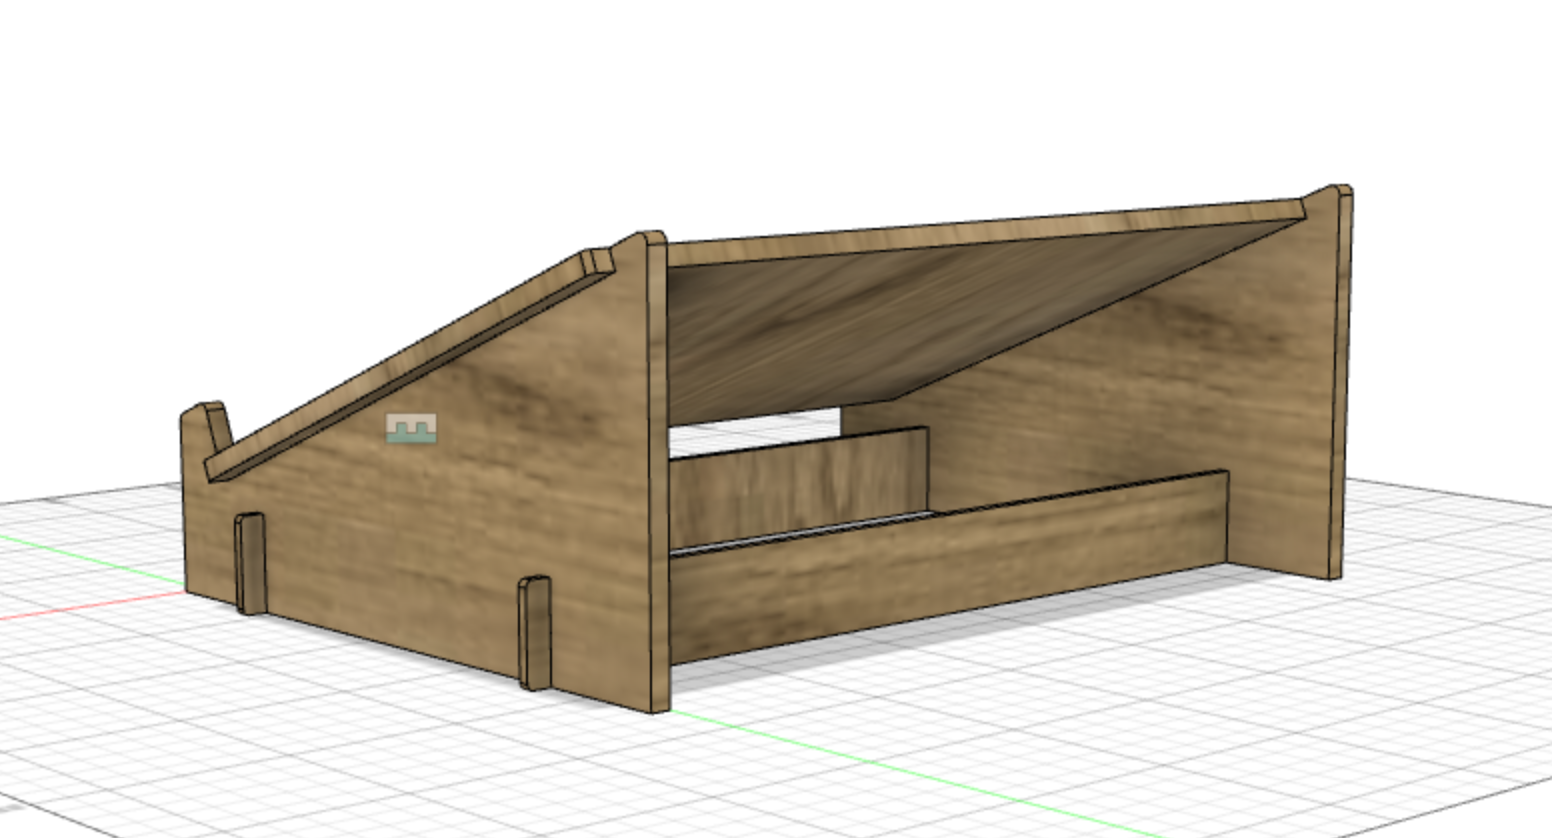
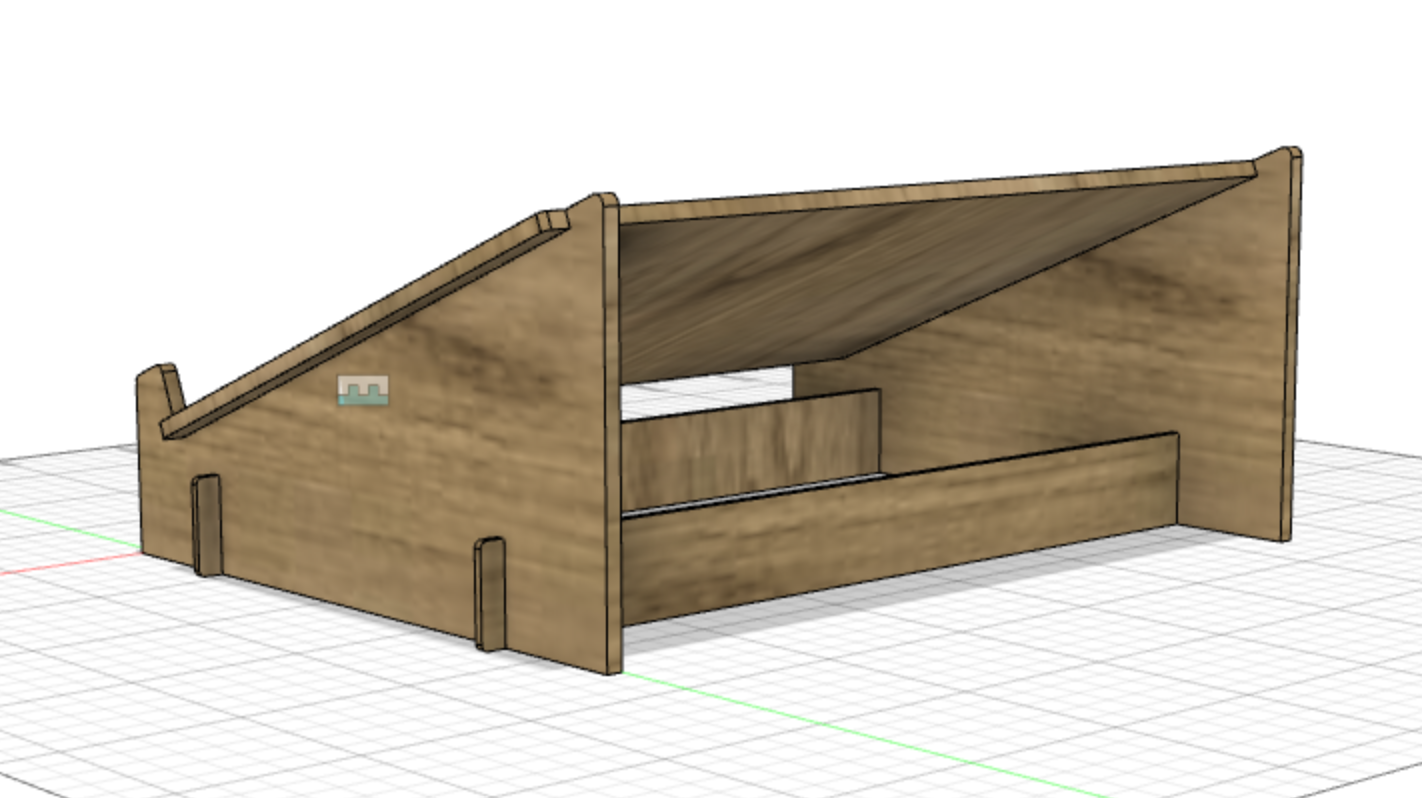
I increased the length of the laptop stand to be 320.1mm as the length of my Macbook is 304.1mm. |
Parametric Design
|
How-to “make a box”:
|